
How to create a new Email Template
Before sending an email via the Cast It Reach Platform, it is best practice to create an email template first. This will then be available to select to send to applicants.
For instructions on how to send an email, click here.
For instructions on how to add images to an email, click here.
If you require a more advanced template, please reach out to your Customer Success Team at support@castitreach.com
Creating a new email template
There are a couple of ways to create a Template in the Communications Tab. The instructions below will take you through the basic steps.
The best route generally, is to take an existing template (such as the default 'Registration' email), duplicate it, then edit the new version. This means that the new email will retain the Container of the original email, as well as some useful elements such as the Applicant name and Candidate ID.
To duplicate the template, do the following:
Select the Template you wish to duplicate from the list in the Communications Campaign templates
Select Duplicate to: > This Campaign from the menu, then click 'Duplicate'
Note: If you want your template to be available in ALL campaigns in your account, select 'Account' from this menu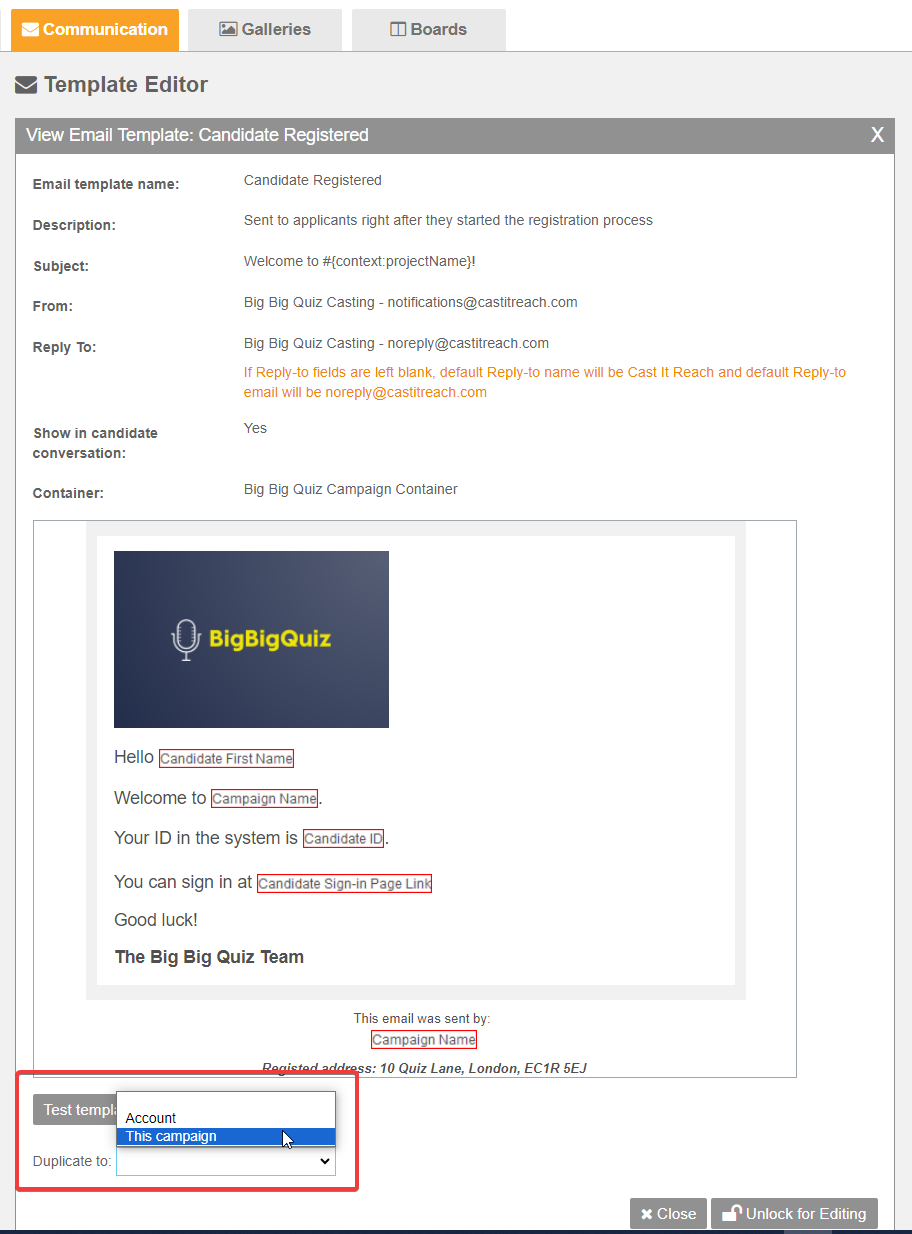
Your new template will appear in the list on the left, called 'Copy of [Original Template Name]'
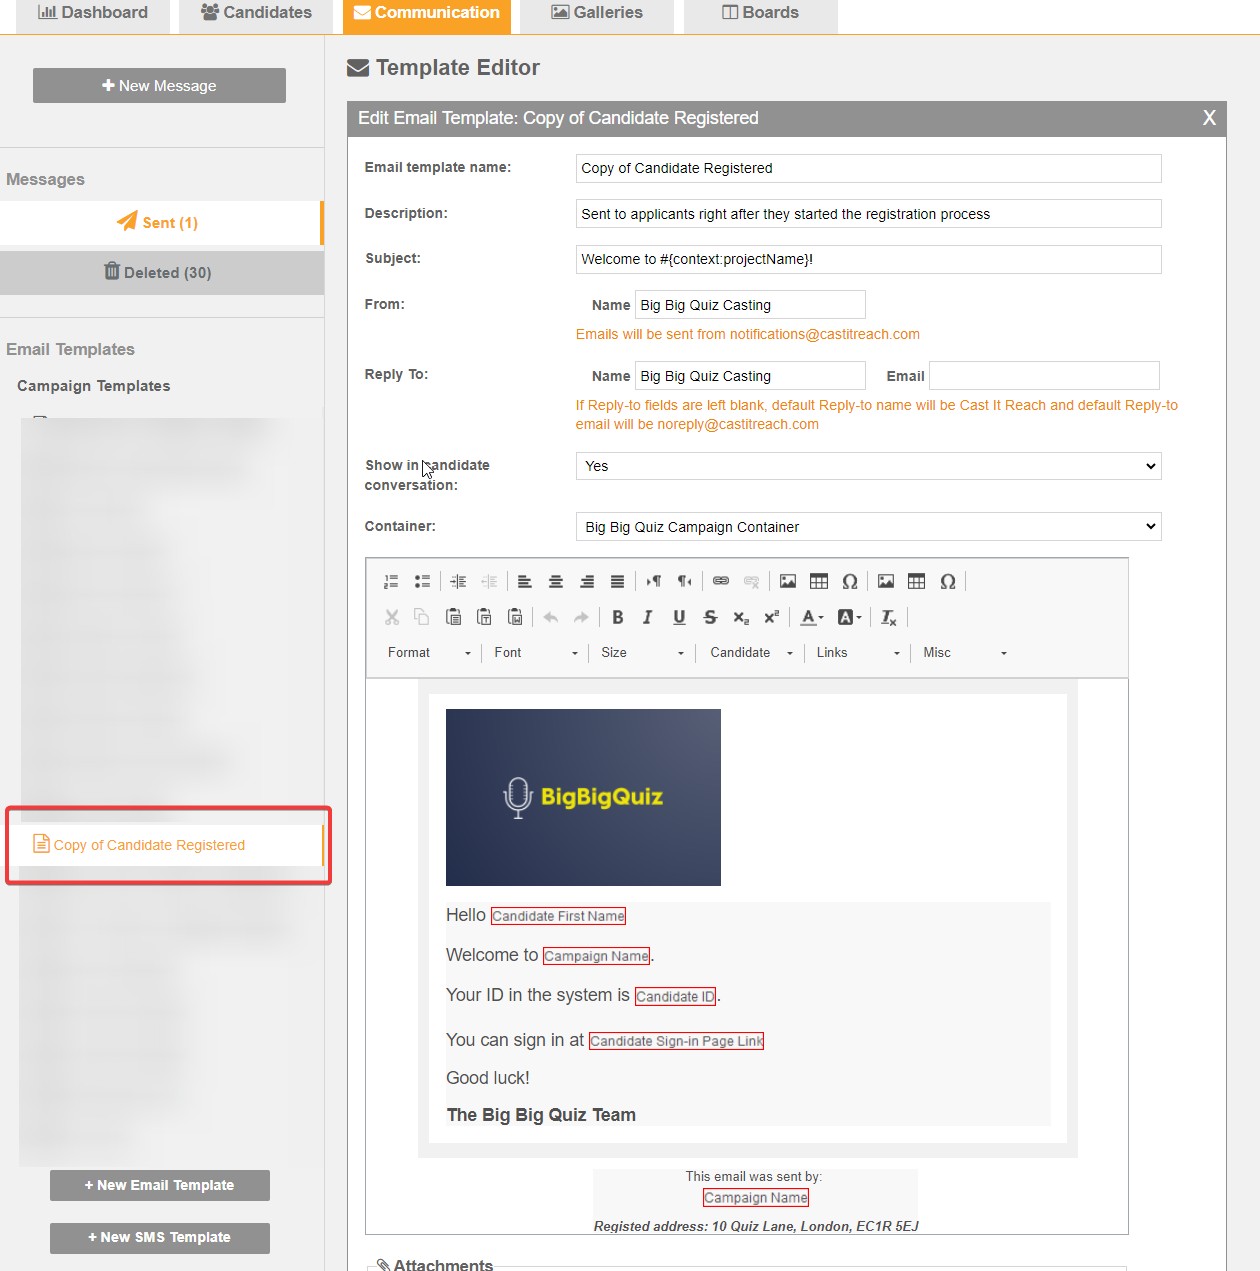
The next stage is to edit the template. Let's take a look at the different Template Settings:
Email Template Name: Give your template a useful name - candidates will not see this information, it is only for Admin users
Description: it is advised to provide a description of the template for clarity. For internal use only.
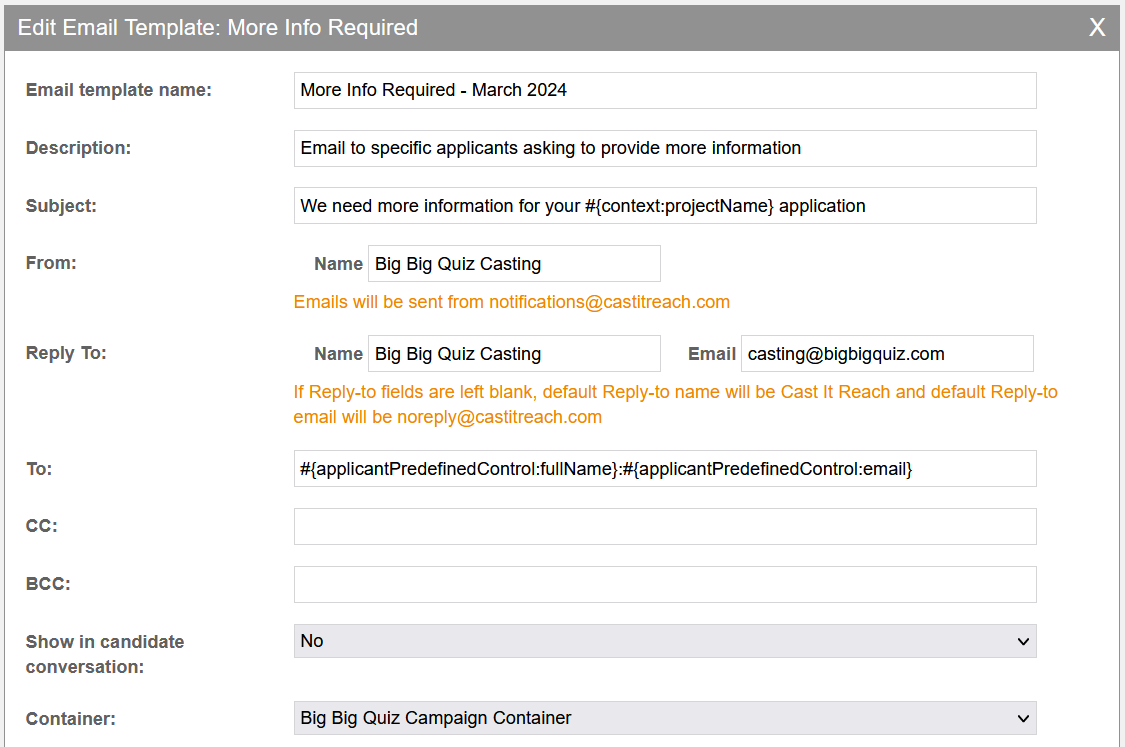
Subject: The email subject that will display in the Applicant's inbox
From: Who the email will show as being from in the Applicant's inbox, e.g. Big Big Quiz Casting
Reply To: The name and email address that applicants can reply to. This should be a dedicate support email address for the campaign e.g casting@bigbigquiz.com
Show in Candidate Conversation: This is for clients using the Conversation Module - if Yes is selected, the email will be visible in the Applicant's profile.
Container: the Container set for this template (containers set the header and footer style). This displays the correct logo and information in the footer. For more information about Containers, click here.
Once you have updated the Settings, you can now edit the Template Content. A brief overview:
Content: the email wording itself. This can include links, images, basic text formatting which can be added using the buttons in the Template Header.
HINT: If copying and pasting from a document such as a Word doc or Google Doc - always strip any existing formatting from the text in the email body content. This will make it much easier to edit your content without previously existing styles conflicting. To do this, you can either use CTRL + SHIFT + V to paste your content. Or, once pasted, Select All and use the button in the Template Header to remove all existing formatting. You can then add any bold, italic or coloured text, or change font types or sizes, using the Template Edit buttons.

***Remember to save your updates regularly***

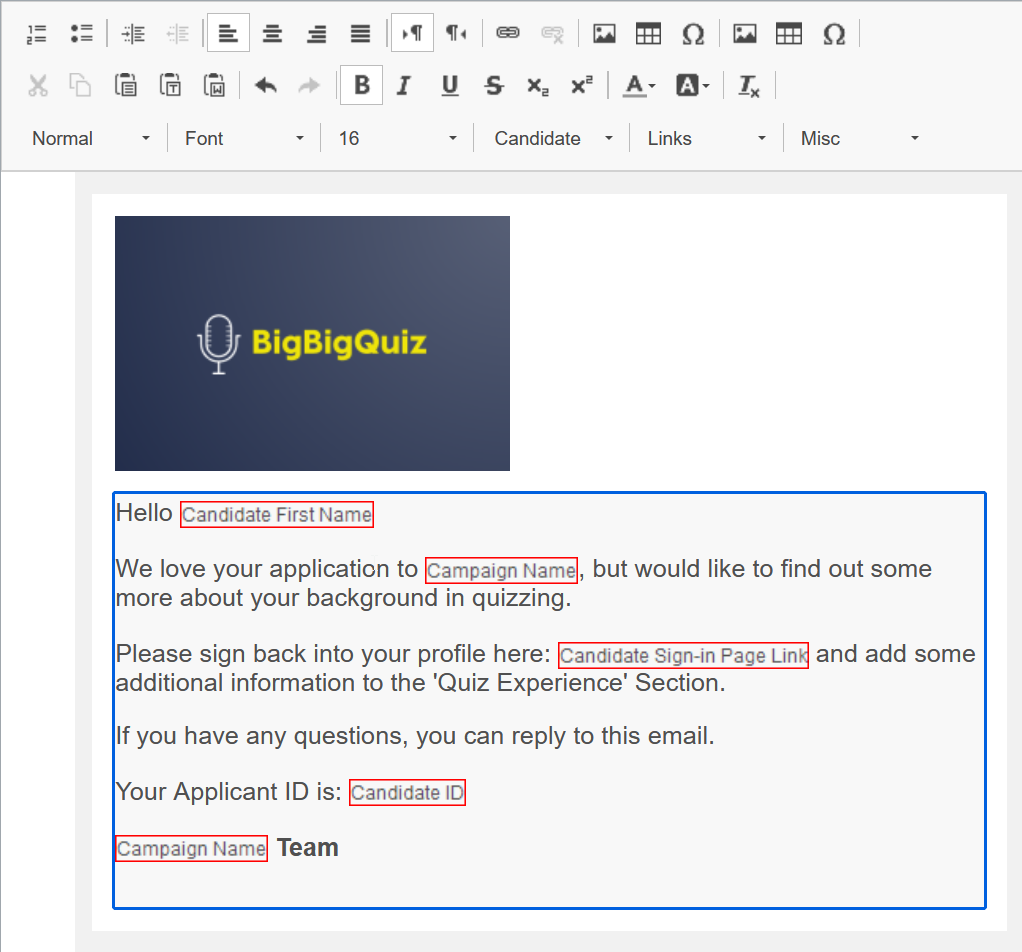
Including Dynamic Data
Email Templates can incorporate Platform Data that will automatically be filled out with the correct information for the Applicant receiving the mail. These are denoted by Red Boxes, and are all available from the Candidate, Links and Misc drop down menus in the Email Template:

Example parameters that can be included in email templates:
Applicant Full Name
Applicant First Name
Applicant Last Name
Applicant ID
Applicant Email Address
Applicant New Password (used with the default 'New Password' template)
Campaign Name
Link to Campaign Registration Page
To add these, simply place your cursor where you need the information to appear, and select from the drop-down menu.
Additional Parameters that can be added to email templates:
Any field that candidates filled out in the registration form or any data collected during the casting process can be incorporate in email templates – ask your Customer Success Manager to add any field to a template.
Testing your email
You can send an example of the template after making and saving your changes, without the need to register as a candidate.
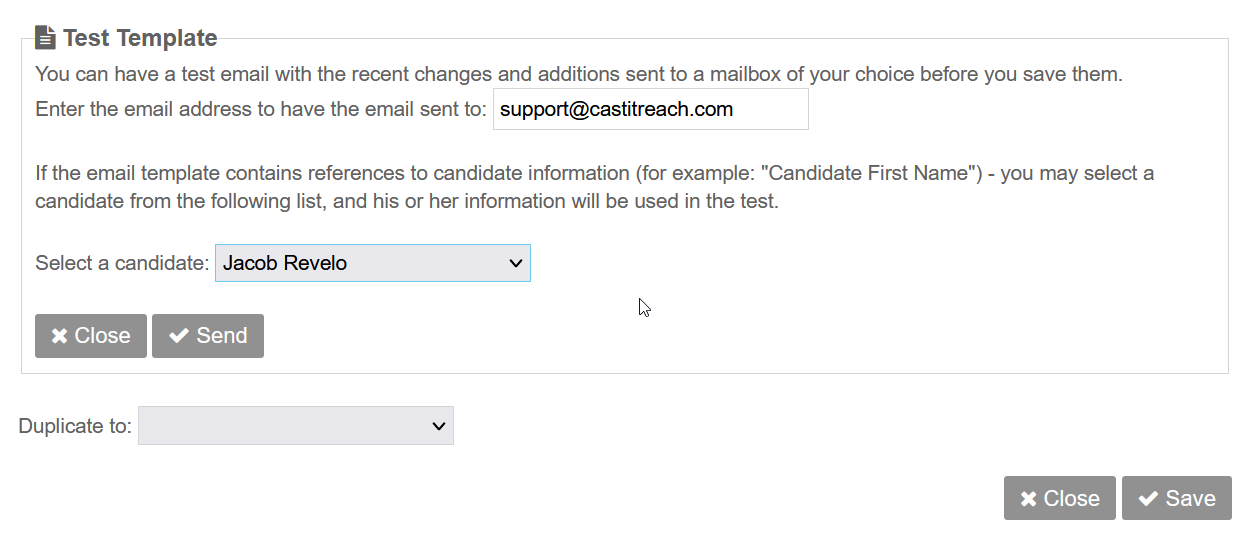
Click on “Test template" at the bottom of the Template.
Add your email address where you want the test email sent to
Select a candidate to simulate the template through. Note: this will NOT send the email to the Applicant - only include dynamic data from their profile for testing purposes. You can select a candidate by:
Select “By ID” and insert a specific candidate ID
Select a candidate from the drop-down
Click on “Send” – the email will be sent to your address for your review
If you're happy with everything, then your email is good to send.